




Mermaid Ombre Nails
Share
🔹 Step 1 – Prep & Base
Start by prepping your nails as usual:
Clean them thoroughly, gently push back your cuticles, and lightly buff the nail surface.
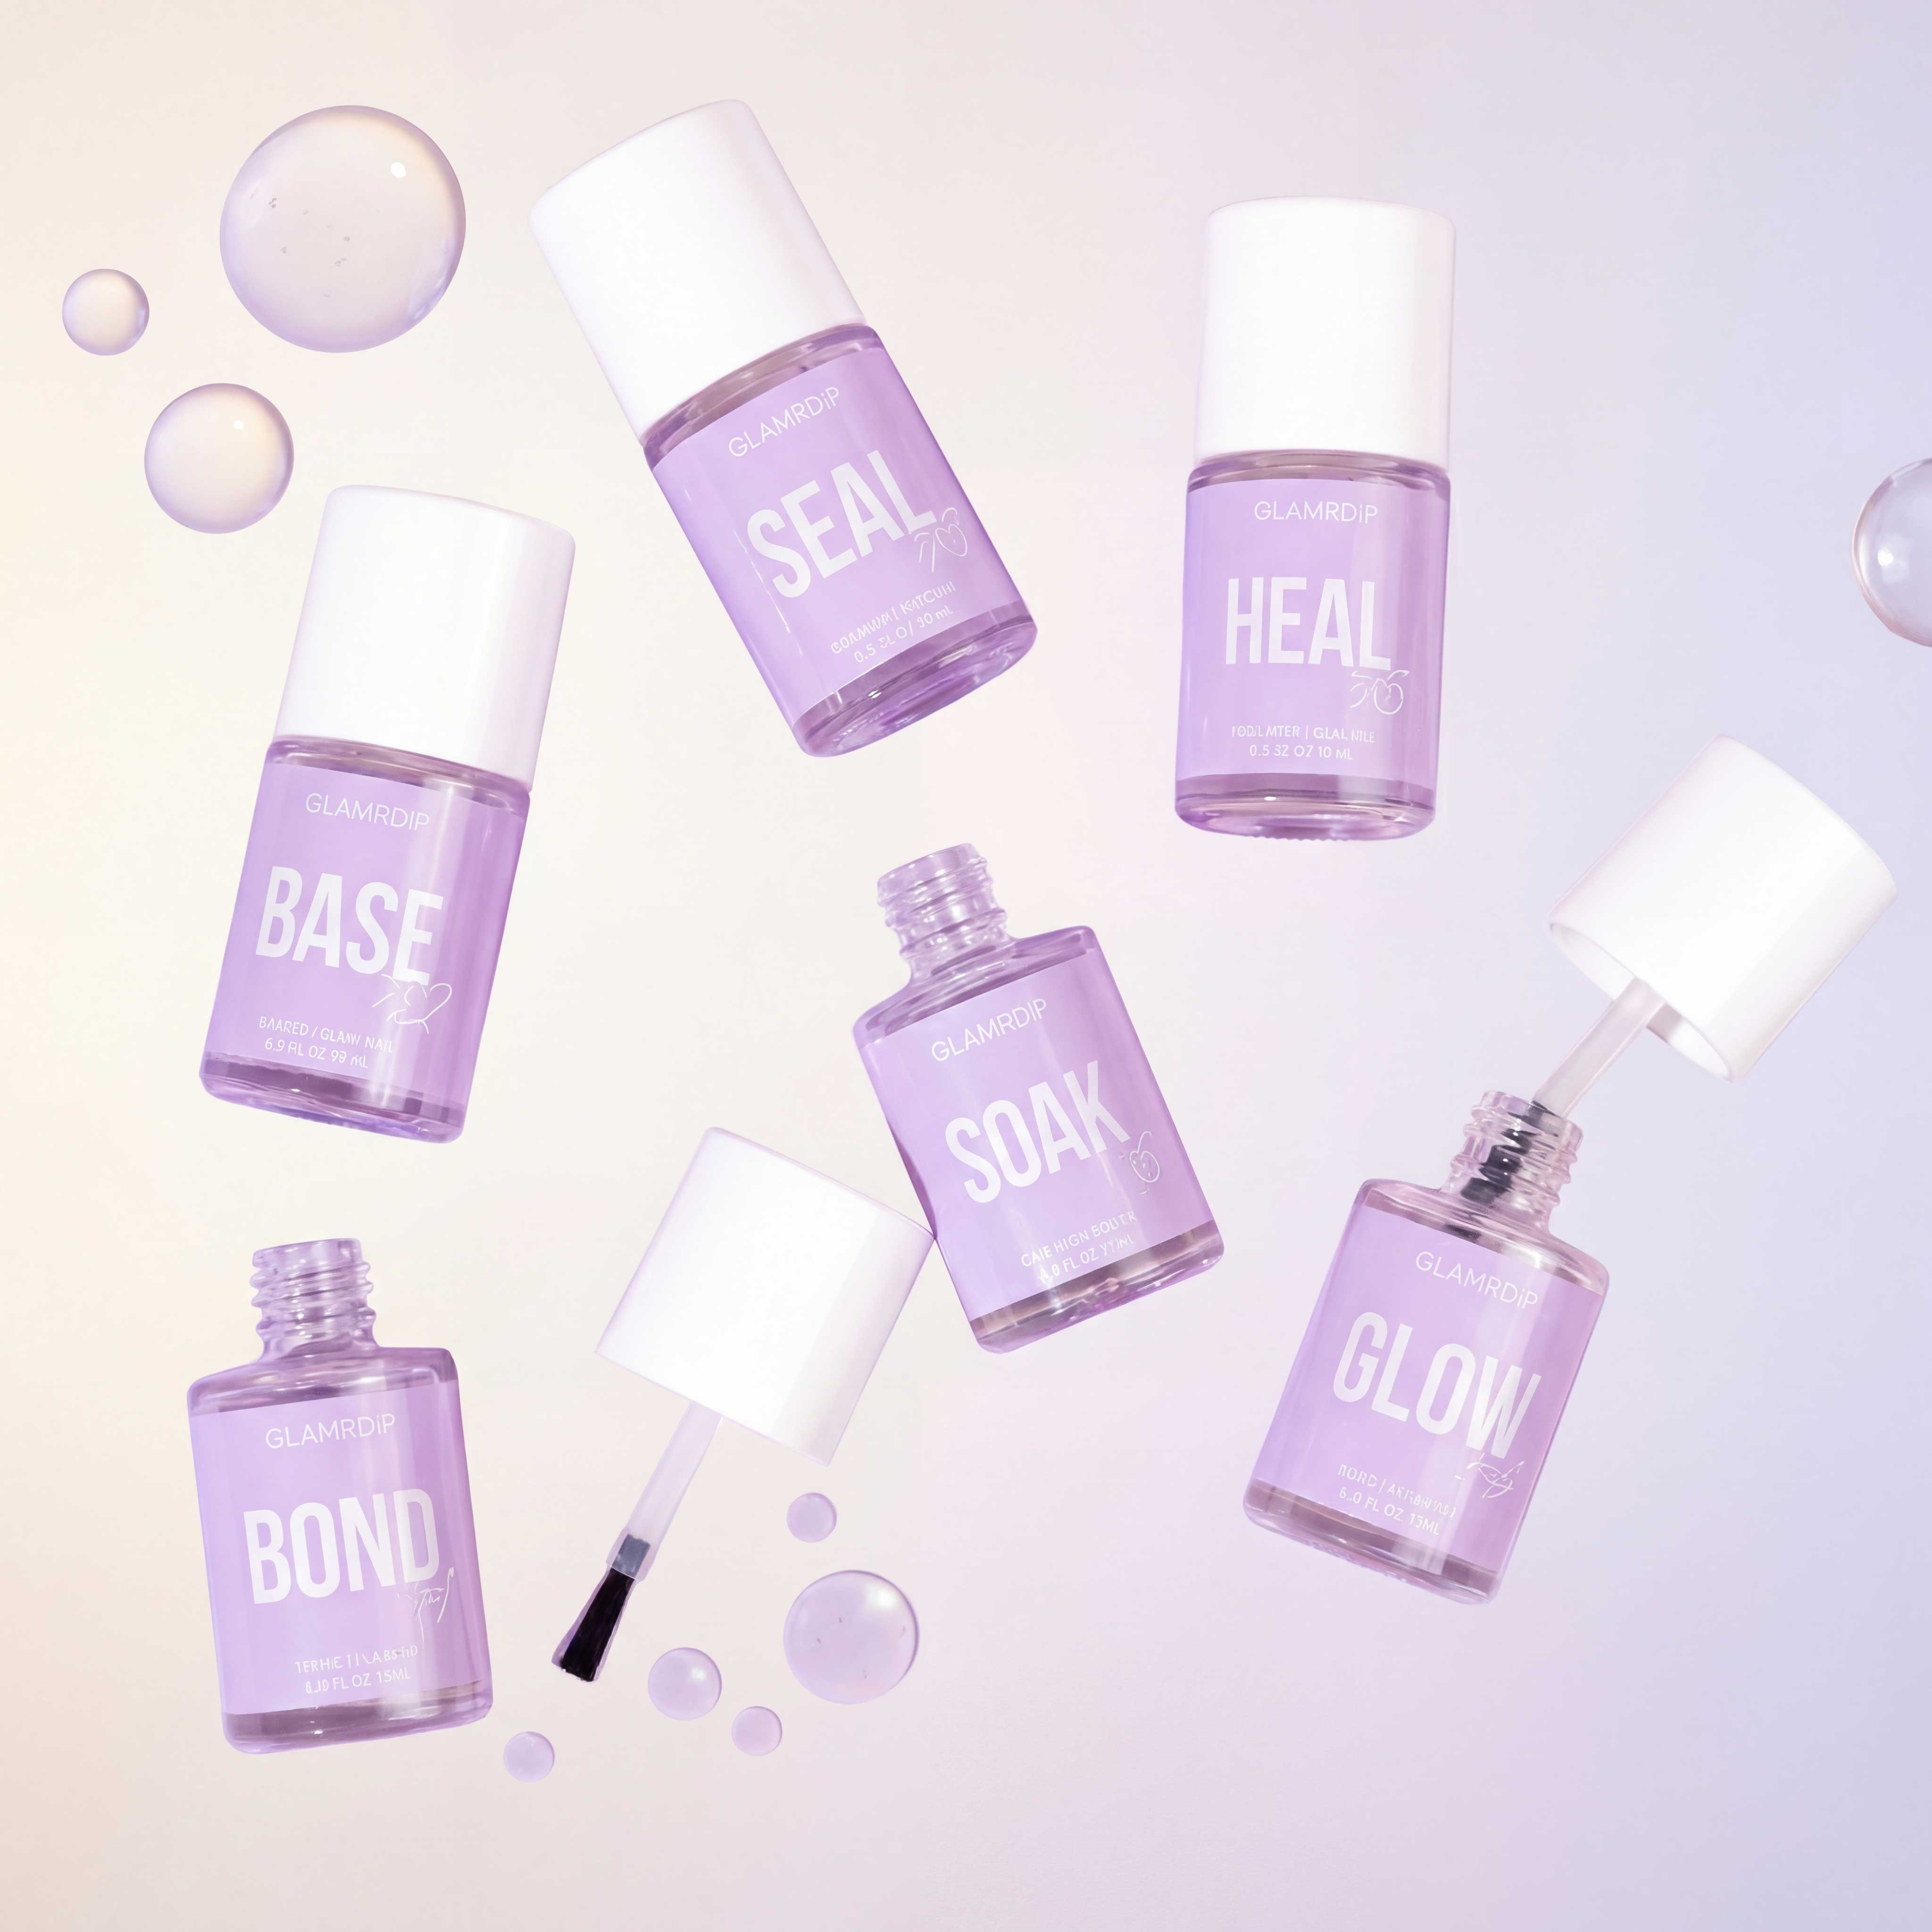
Apply one coat of Base and dip into Clear to create a smooth, neutral base—your canvas for mermaid magic.
🔹 Step 2 – The First Mermaid Colors
Apply a thin, even layer of Base.
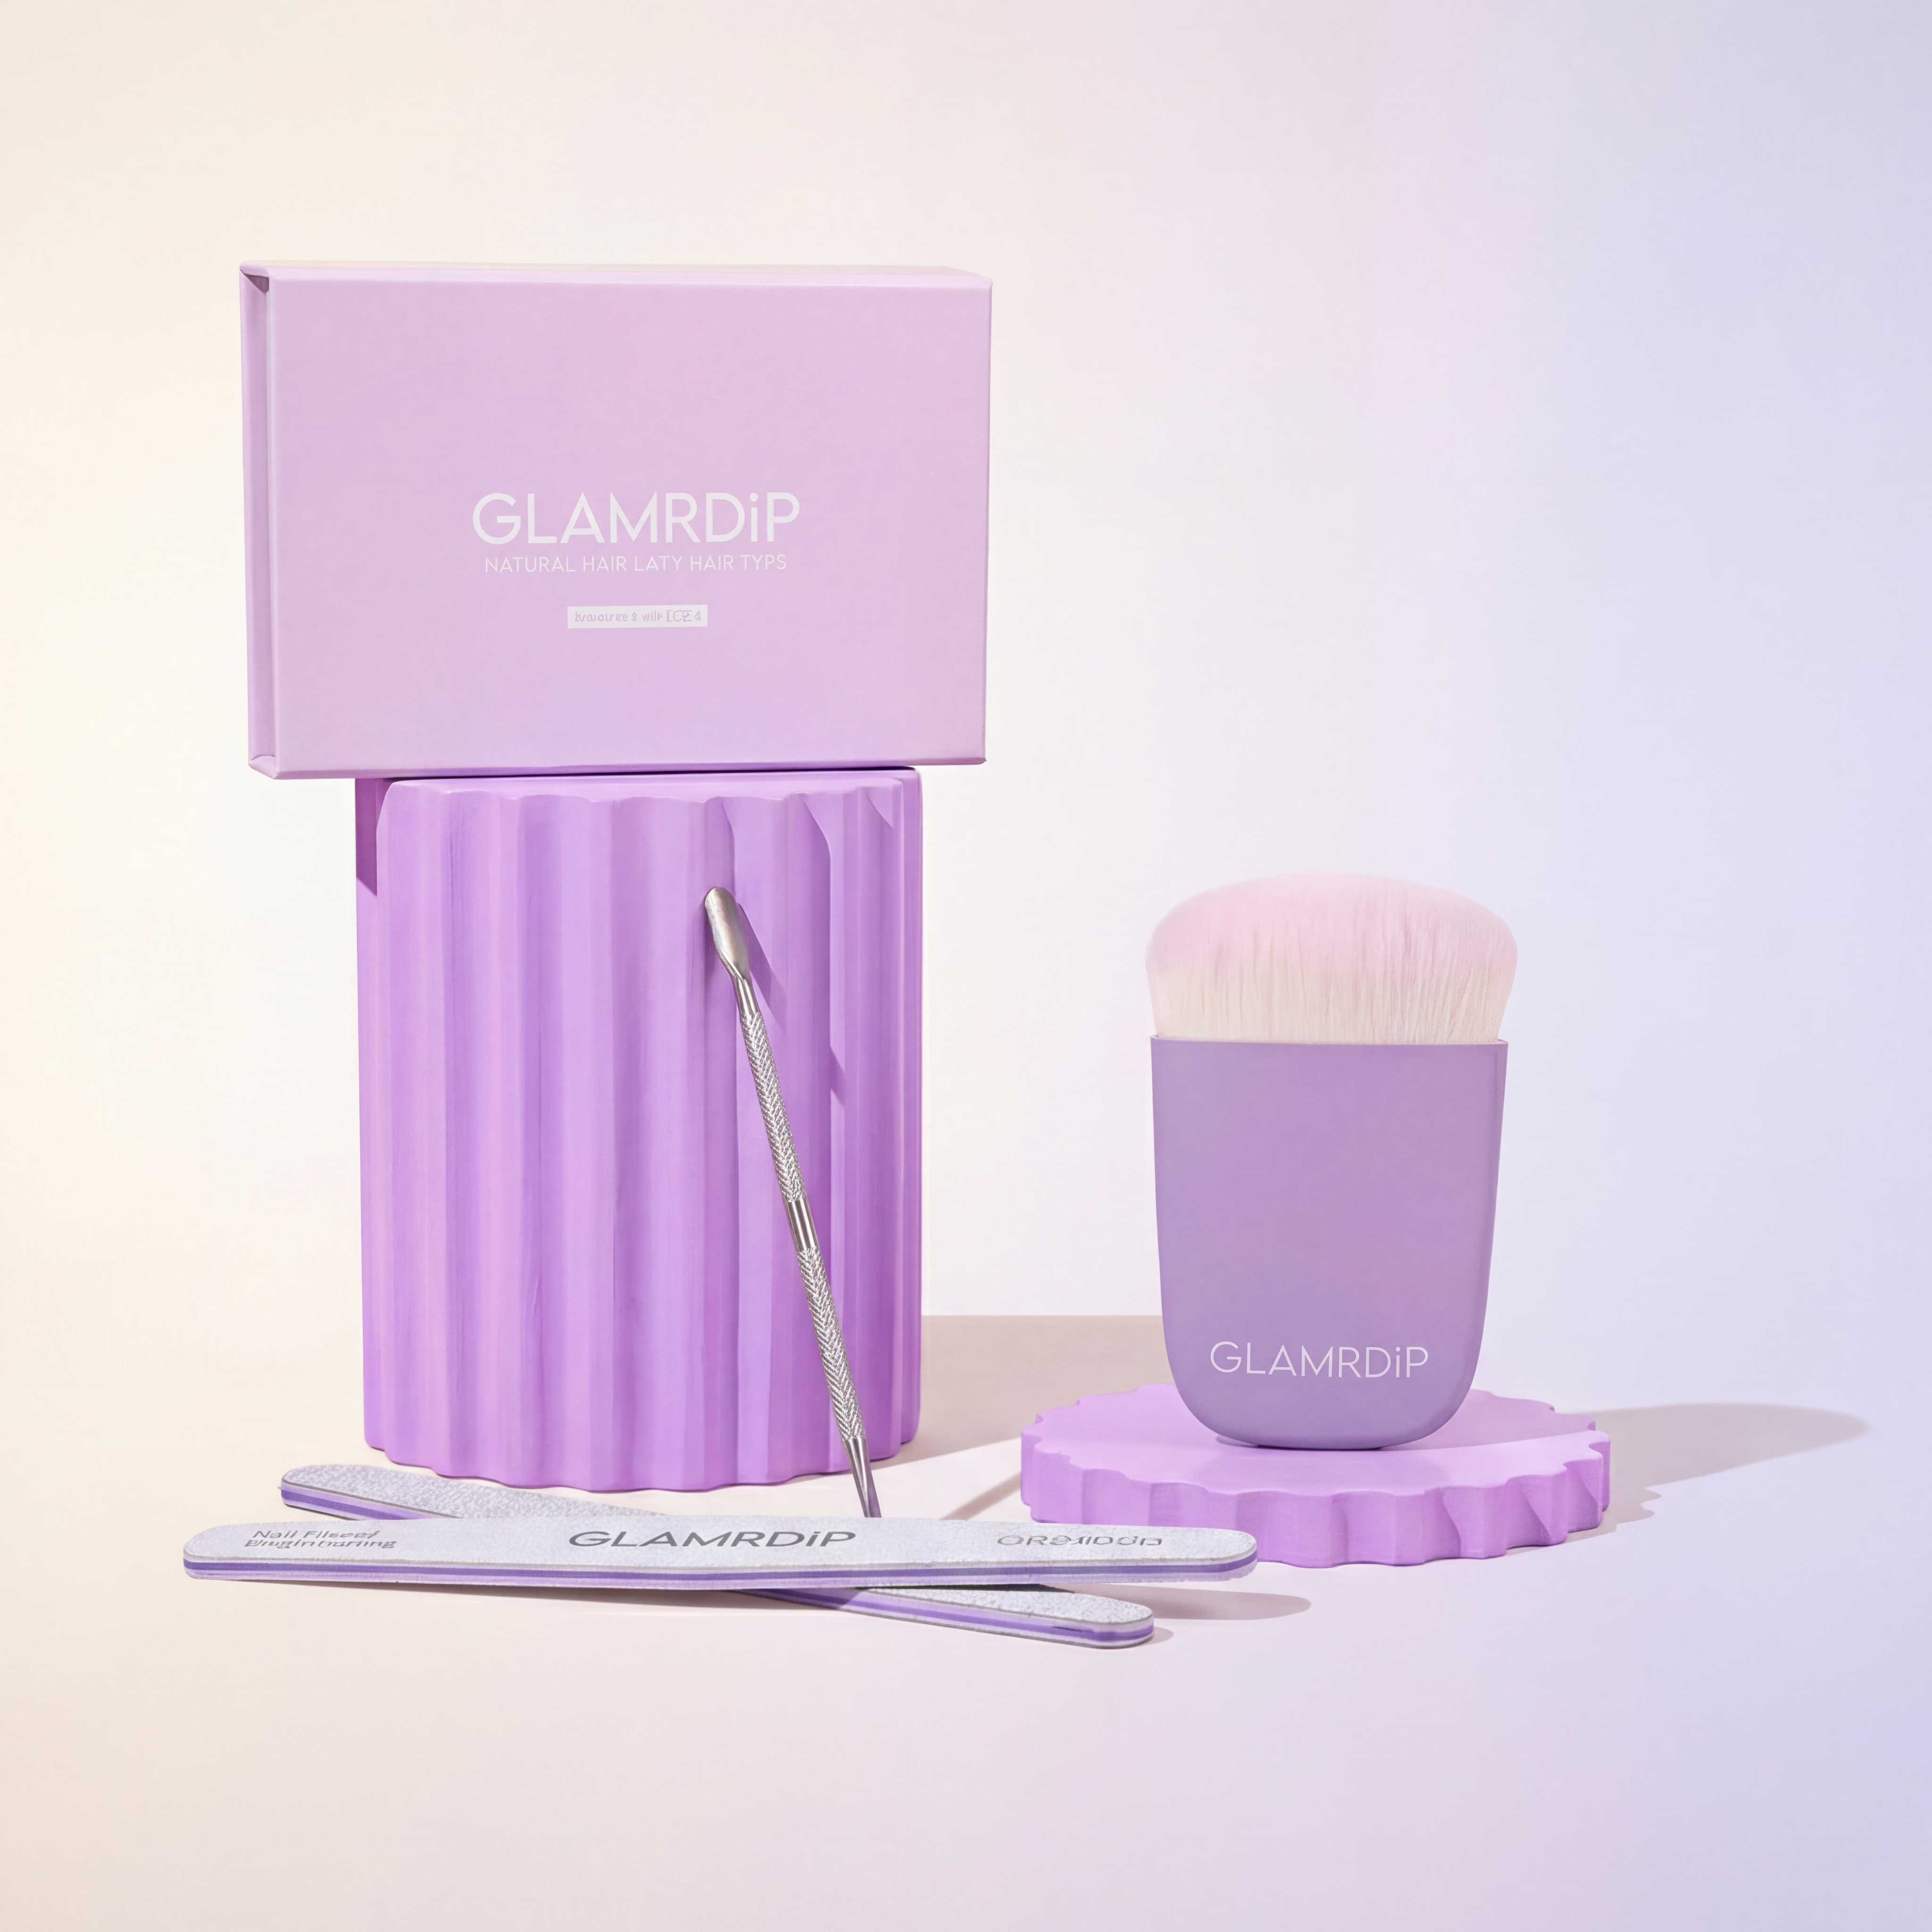
Dip your makeup brush into Seaside and gently dab it over the top half of the nail—this is where the magic begins!
Next, dip the brush into Paradise and dab onto the bottom half of the nail.
Watch the soft ombré gradient come to life—like mermaid shimmer beneath the sea ✨
Repeat on all nails, and brush off any excess powder when done.
🔹 Step 3 – Add Depth with Illusion
Apply another thin coat of Base across the entire nail.
Now dip the whole nail into Illusion—this adds luminous shimmer and dreamy depth to your design.
Think: sunlight hitting the ocean waves 🌞🌊
Brush off any leftover powder. You’ve got this.
🔹 Step 4 – Finish with Clear
Time to lock it in!
Apply a fresh layer of Base and dip into Clear to seal your design and protect the magic.
Dust off, admire your masterpiece, and maybe whisper:
“I could honestly start charging for this.” 💅
✨ Step 5 – Finish Like a Pro
-
Seal → to cure the powder and ensure durability.
-
Glow → for a glossy finish that’ll make you smile every time you look at your hands.
-
Heal/Care → apply Heal/Care around your cuticles, because long-lasting love starts with care. 💖
💖 And voilà!
You’ve just created a dazzling mermaid manicure right at home—with nothing but your creativity and GLAMRDiP.
Pastel, pearlescent, and perfectly ombré—just like the summer dream you are.
So next time someone asks, “Where did you get your nails done?”
Just smile and say:
“GLAMRDiP—and me, obviously.”