




Candy Nails Tutorial
✨ Step 1 – Prep the Base
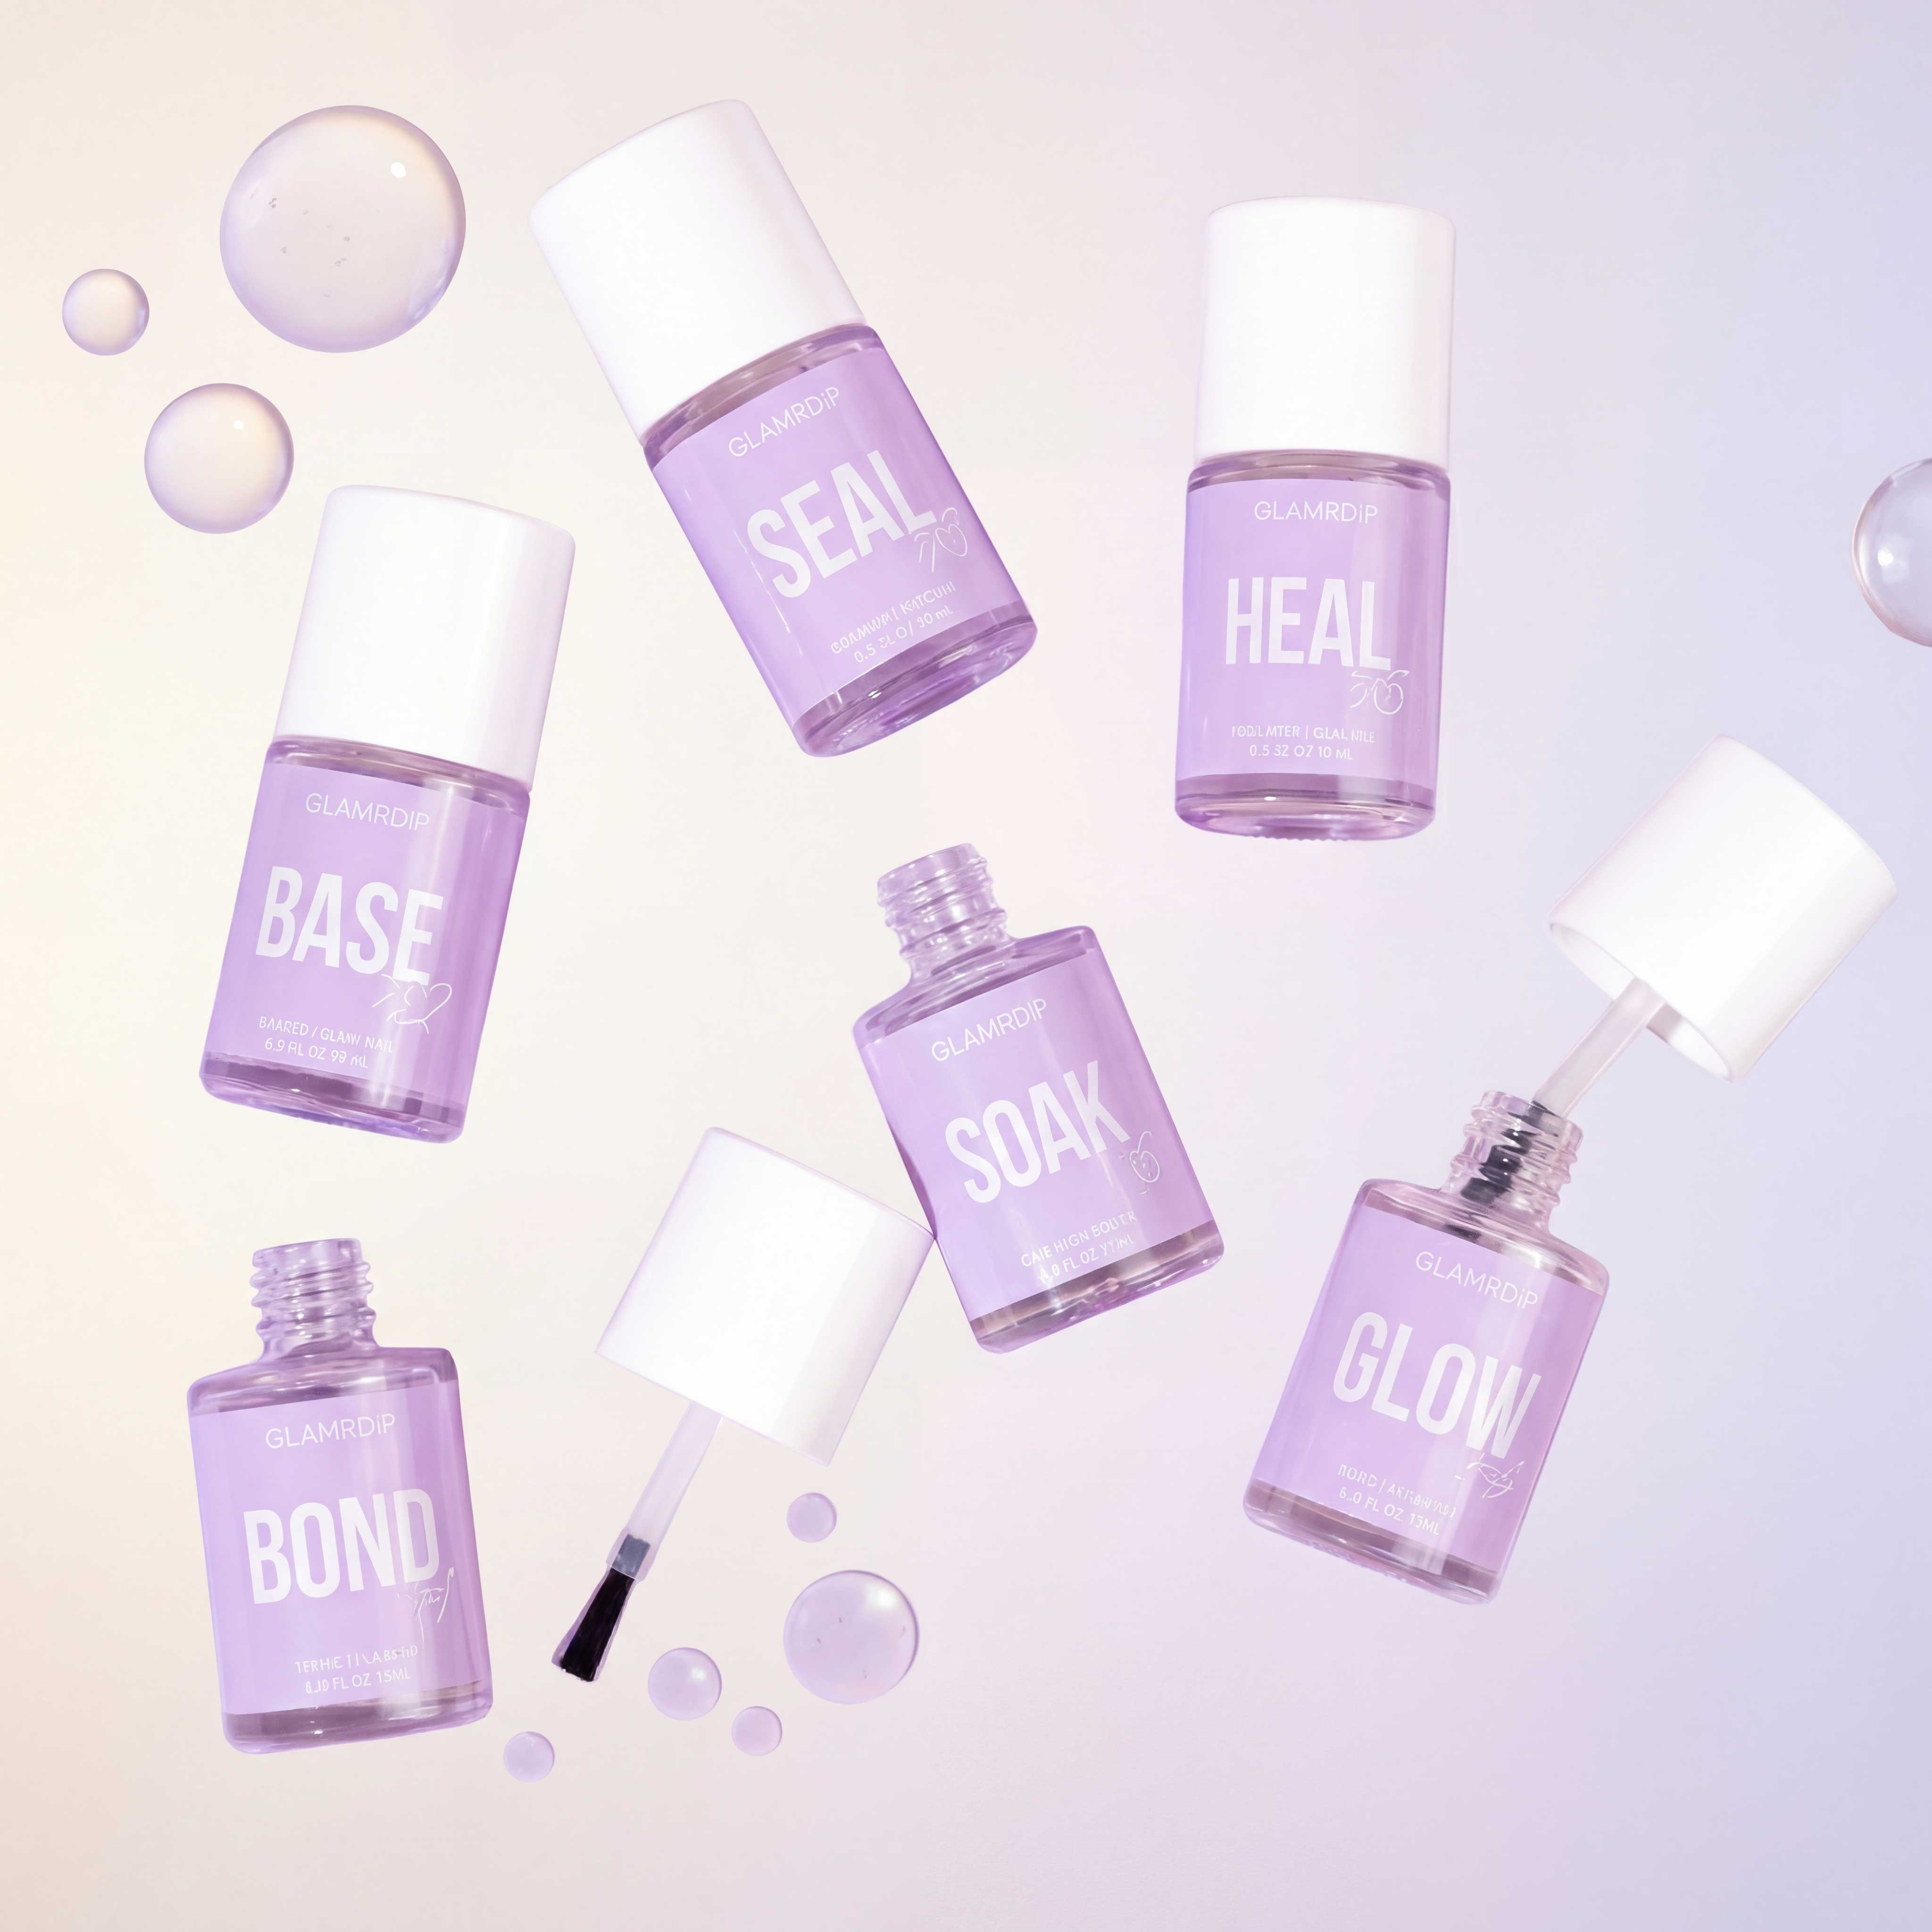
As always: prep your nails, lightly file, and apply a thin layer of Base, then dip into Clear.
This gives you a neutral and strong base that holds both colour and shape.
✨ Step 2 – Finger by finger, colour by colour
Now the fun begins! We’re building a colourful French manicure where each nail gets its own combo of tip + base:
Finger 1:
-
Dip the nail tip into the colour 'Cotton Candy'
-
Pour the colour 'Hello Sunshine' over the rest of the nail

Finger 2:
-
Dip the nail tip into the colour 'Game Over'
-
Pour the colour 'Over It' on the rest of the nail
Finger 3:
-
Dip the nail tip into the colour 'Mood'
-
Pour the colour 'Cotton Candy' over the rest of the nail
Finger 4:
-
Dip the nail tip into the colour 'Hello Sunshine'
-
Pour the colour 'Game Over' onto the rest of the nail

Finger 5:
-
Dip the nail tip into the colour 'Over It'
-
Pour the colour 'Mood' over the rest of the nail
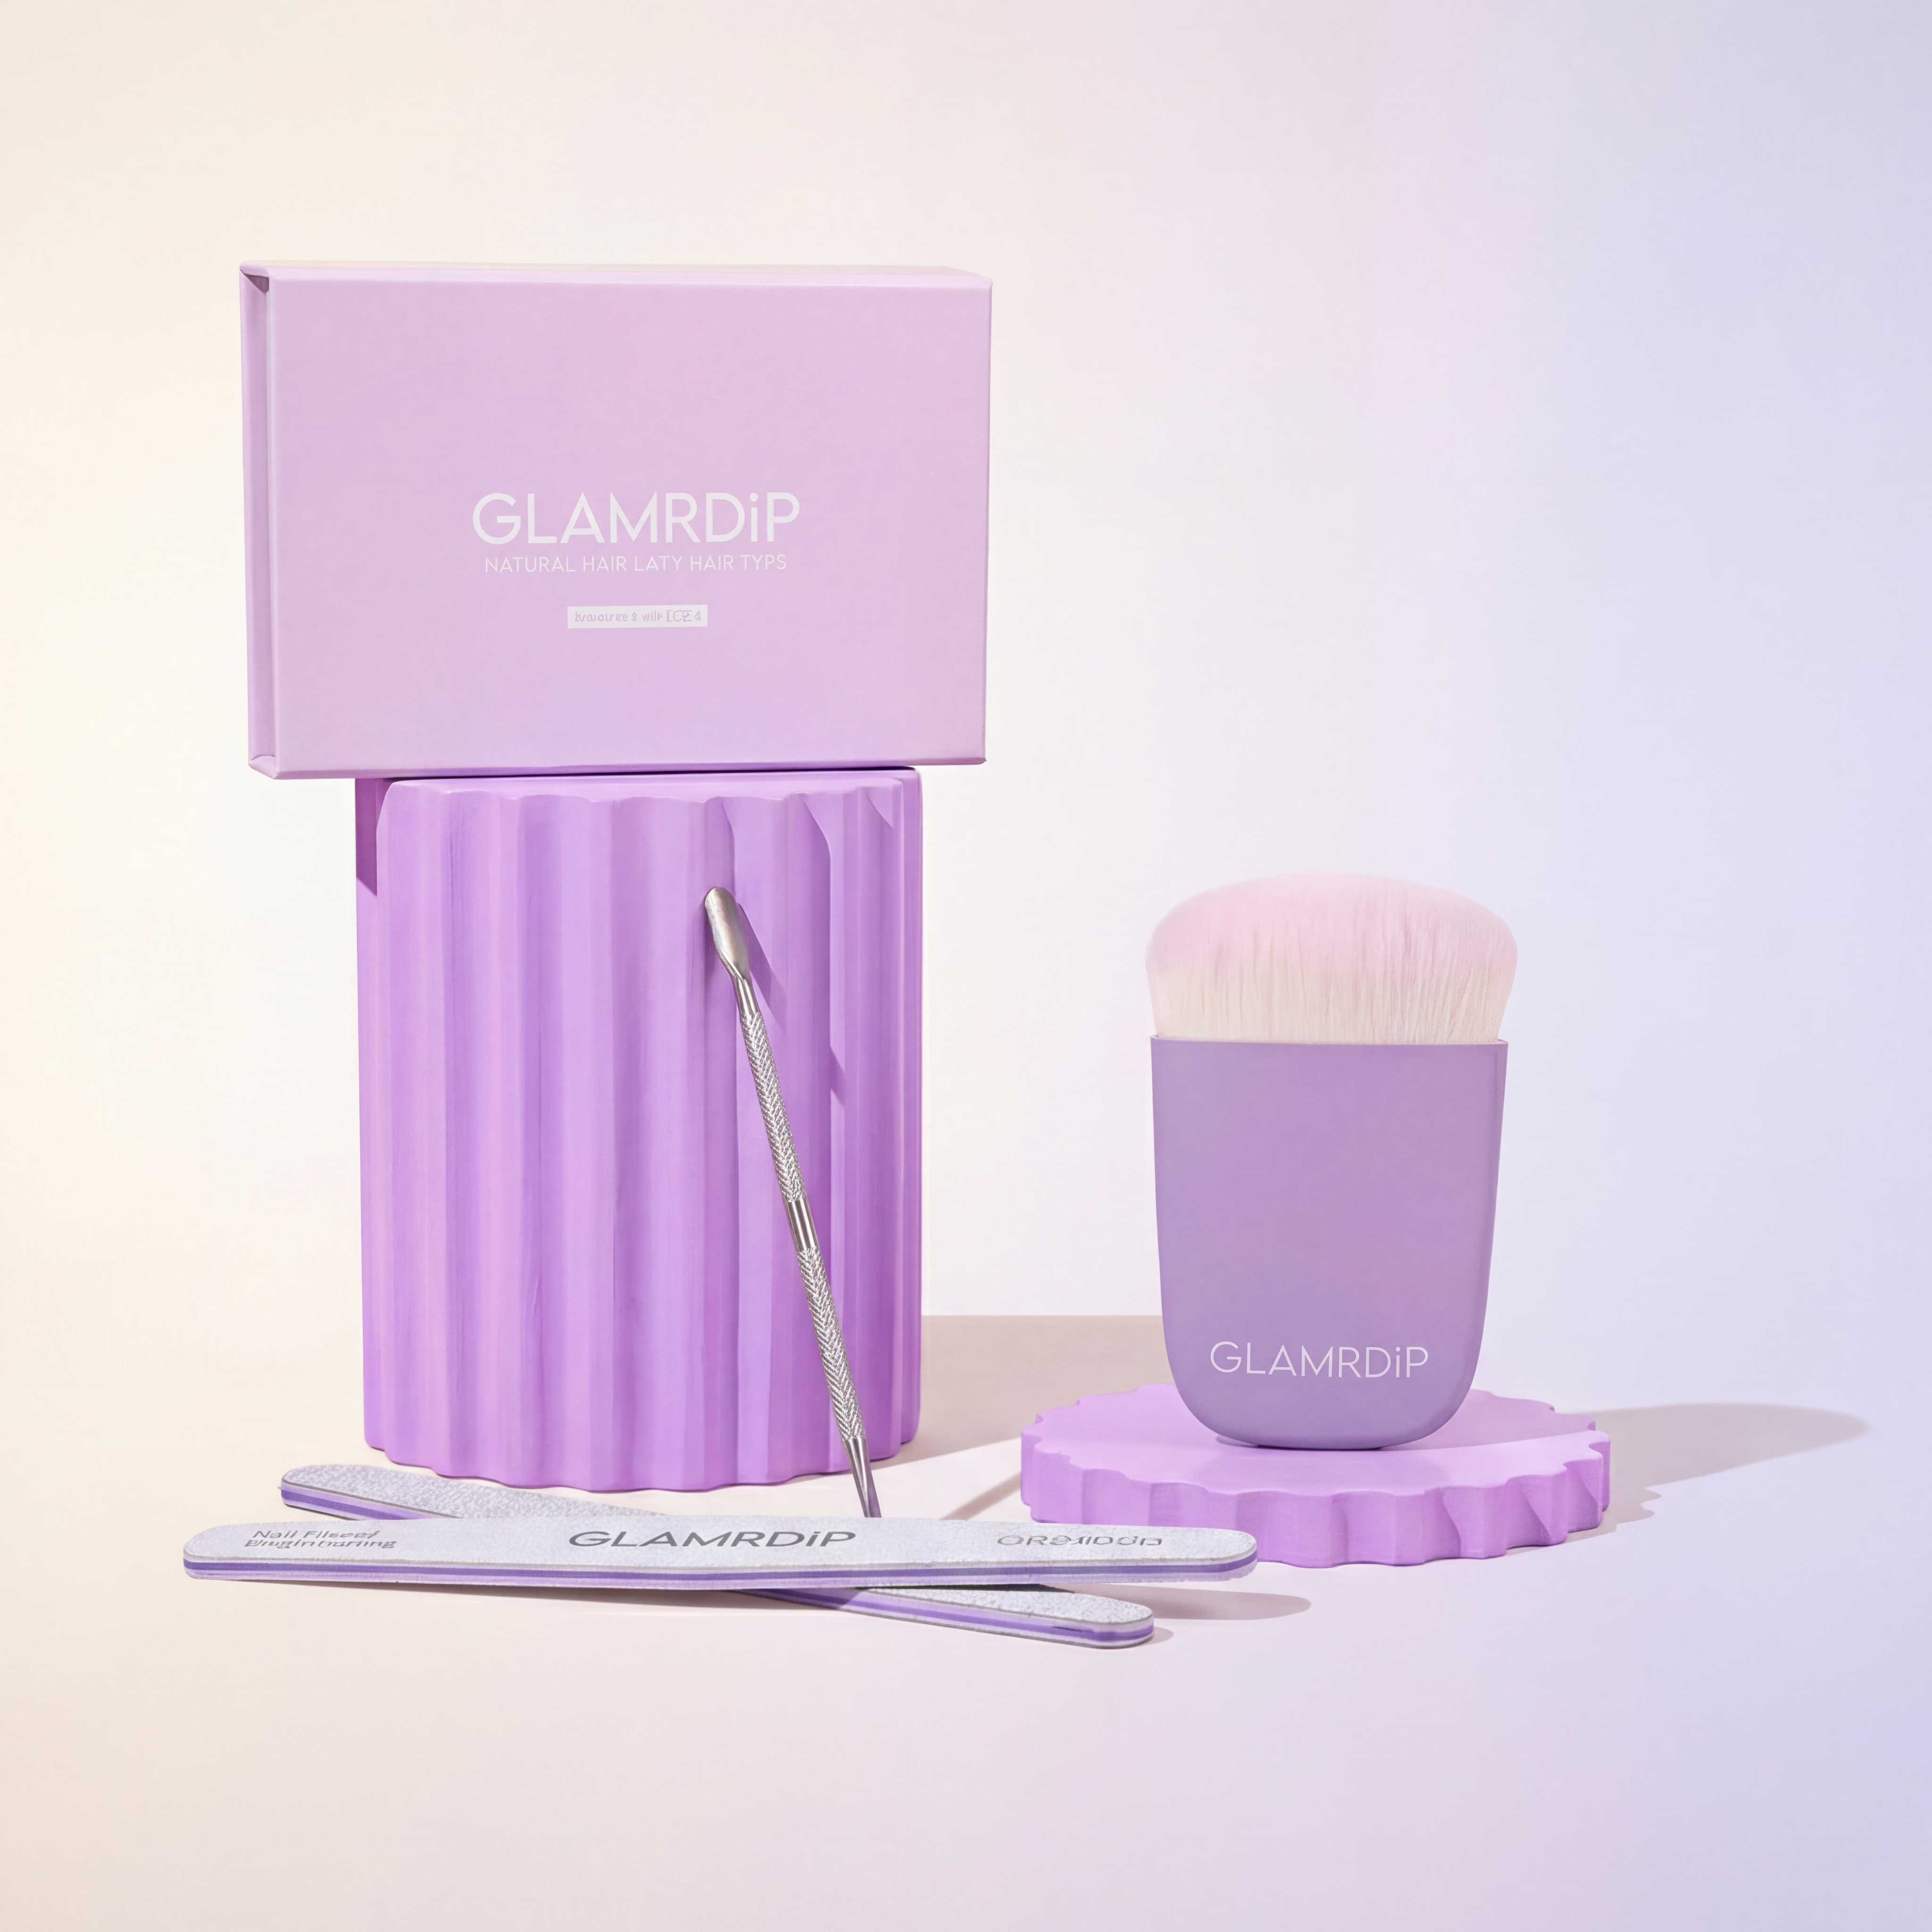
✨ Tip: Use the pointed end of the cuticle presser when pouring powder. It gives you precision and control – and looks sooo satisfying.
🧹 Step 3 – Clean and adjust
When all nails are dipped, brush off all excess powder.
Take your time here – this is the moment where you perfect the lines and make sure the colour transitions are locked in just right.

🔒 Step 4 – Seal Colours
Apply one final thin layer of Base over the entire nail, and dip into Clear.
This layer protects your design when you file later – and gives the surface that smooth, salon-like finish.
Brush off the excess again – and pat yourself on the back, because this looks FAB 🎉

💅 Step 5 – Add the finishing touch
Finish as always with:
-
Set → to cure everything
-
Shine → for a glossy, mirror-like finish
-
Nourish → to give your cuticles some love

💖 Voilà!
You’ve now created a candy-inspired French manicure that’s guaranteed to spread smiles.
Each nail has its own vibe, but the full look is WOW.
Perfect for days when you want your nails to match your energy: colourful, sweet, and a little extra 💅🍭
